Introduction
In today’s digital age, video production has become an integral part of marketing and communication strategies for businesses across various industries. Whether you’re a small business owner, a content creator, or a marketer, having high-quality videos is essential to engage your target audience and leave a lasting impression. The video production involves the creative process of capturing, editing, and producing visual content for various purposes. To help you step up your video production game, this comprehensive guide will provide you with essential tools and techniques to create compelling videos that stand out from the competition.
The Power of Video
Videos have emerged as one of the most effective forms of content in the digital landscape. They allow businesses to convey their messages in a visually appealing and engaging way, capturing the attention of their audience and driving higher levels of user engagement. Videos are easily shareable on social media platforms and can go viral, expanding your reach and brand exposure exponentially.
Pre-Production Planning
Before you start shooting your video, careful planning is crucial to ensure a smooth production process and a high-quality end result. Here are some key steps to consider during the pre-production phase:
1. Define Your Goals and Target Audience
Identify the purpose of your video and the specific goals you want to achieve. Are you trying to promote a product, educate your audience, or tell a compelling brand story? Understanding your target audience will help you tailor your video content and style to resonate with them effectively.
2. Scriptwriting and Storyboarding
Craft a well-written script that aligns with your goals and captures the essence of your message. A script provides a roadmap for your video production, ensuring that you cover all the necessary points and maintain a coherent storyline. Create a storyboard to visualize the scenes and sequence of shots, helping you plan the visuals and transitions.
3. Location Scouting and Set Design
If your video requires specific locations or sets, conduct thorough location scouting to find suitable places that align with your vision. Consider the lighting conditions, acoustics, and overall ambiance of the locations. Additionally, pay attention to set design and ensure it complements the message you want to convey.
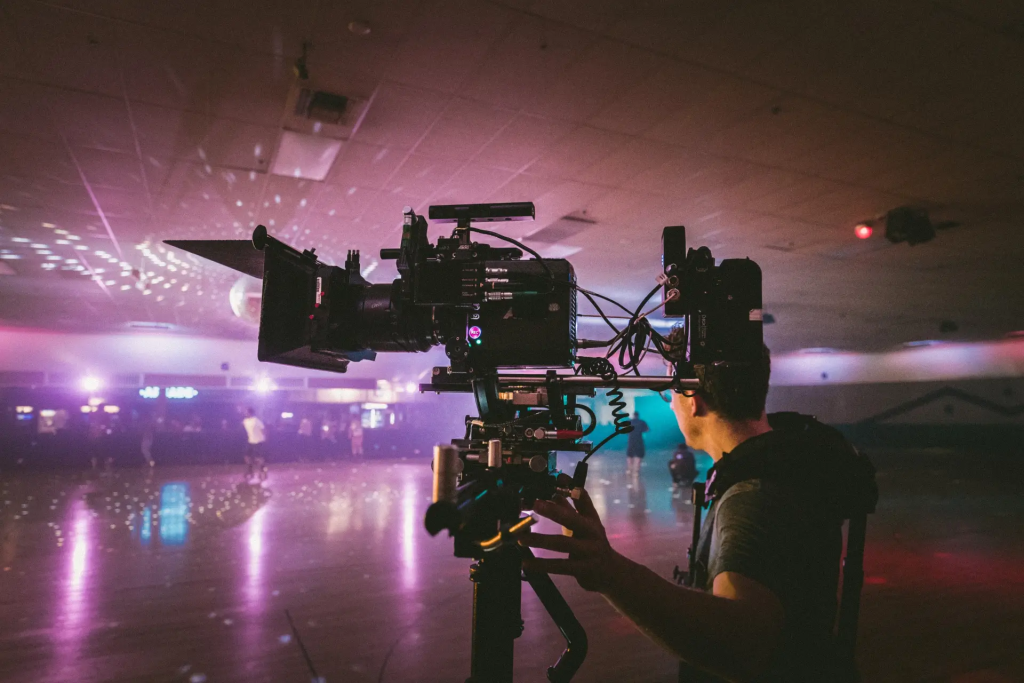
4. Equipment and Gear
Investing in quality video production equipment is crucial to achieving professional-looking results. Some essential tools include:
- Camera: Choose a camera that suits your budget and production requirements. High-resolution options such as DSLRs or mirrorless cameras offer excellent image quality.
- Lenses: Different lenses provide various focal lengths and depth of field options, allowing you to capture different perspectives and create visual impact.
- Tripod: A stable tripod is essential for steady shots and smooth camera movements.
- Lighting: Good lighting can make a significant difference in the overall quality of your video. Invest in lighting equipment such as LED panels or softboxes to ensure well-lit scenes.
- Microphone: Clear audio is crucial for effective communication. Consider using a dedicated microphone or a lavalier mic to capture high-quality sound.
Production Phase
Once you have completed the pre-production planning, it’s time to move on to the production phase. Here are some important techniques to enhance your video production:
1. Framing and Composition
Pay attention to framing and composition to create visually appealing shots. The rule of thirds is a popular guideline in video production, where you divide the frame into three equal parts horizontally and vertically, placing your subject along the intersecting lines or at their points. This technique adds balance and visual interest to your shots.
2. Camera Movements
Incorporating camera movements adds dynamism and visual interest to your videos. Experiment with techniques such as panning (horizontal movement), tilting (vertical movement), tracking (following a subject), and dolly shots (moving the camera closer or further away from the subject). Smooth and controlled movements will elevate the overall quality of your video.
3. Lighting Techniques
Understanding lighting techniques can drastically improve the visual aesthetics of your videos. Consider the following:
- Three-point lighting: This classic lighting setup involves three key elements: the key light (main light source), the fill light (softens shadows), and the backlight (separates the subject from the background).
- Natural lighting: Shooting outdoors or near windows can provide soft and flattering light. Pay attention to the time of day and the direction of the sunlight for optimal results.
- Creative lighting: Experiment with different lighting styles to create specific moods or effects. Colored gels, diffusers, and reflectors can be used to modify the light’s intensity and color.
4. Audio Recording
High-quality audio is equally important as video quality. Pay attention to the following tips for better audio:
- Use an external microphone for improved sound capture and reduced ambient noise.
- Monitor audio levels throughout the shoot to ensure clear and consistent sound.
- Consider using background music or voice-overs to enhance the overall impact of your video.
Post-Production and Editing
The post-production phase is where you bring all the elements together and refine your video. Effective editing techniques can transform raw footage into a polished and professional-looking final product. Consider the following steps:
1. Video Editing Software
Choose a video editing software that suits your needs and level of expertise. Some popular options include Adobe Premiere Pro, Final Cut Pro, and DaVinci Resolve. Familiarize yourself with the software’s features and functionalities to maximize your editing capabilities.
2. Organization and Assembly
Import your footage into the editing software and organize your clips in a logical sequence. Trim unnecessary footage and arrange the shots according to your storyboard. Pay attention to pacing, transitions, and flow to maintain viewer engagement.
3. Color Correction and Grading
Enhance the visual appeal of your video through color correction and grading. Adjust the brightness, contrast, saturation, and color temperature of your footage to achieve the desired look and mood. Consistency in color grading across different shots creates a cohesive visual experience.
4. Adding Graphics and Effects
Incorporate graphics, text overlays, and visual effects to complement your video content. Use lower thirds to introduce speakers or key points, and employ visual effects sparingly to enhance specific moments or convey information creatively.
5. Audio Mixing and Sound Design
Ensure that the audio in your video is clear, balanced, and synchronized with the visuals. Adjust the volume levels, add background music, and incorporate sound effects to enhance the overall impact. Pay attention to the audio transitions to avoid abrupt changes.
Conclusion
Mastering video production requires a combination of technical knowledge, creativity, and attention to detail. By following the essential tools and techniques outlined in this guide, you’ll be well-equipped to step up your video production game and create captivating videos that captivate your audience. Remember to invest in quality equipment, plan meticulously, and refine your videos through skillful editing. With practice and dedication, you can leave your competitors behind and establish your brand as a leader in video content creation.